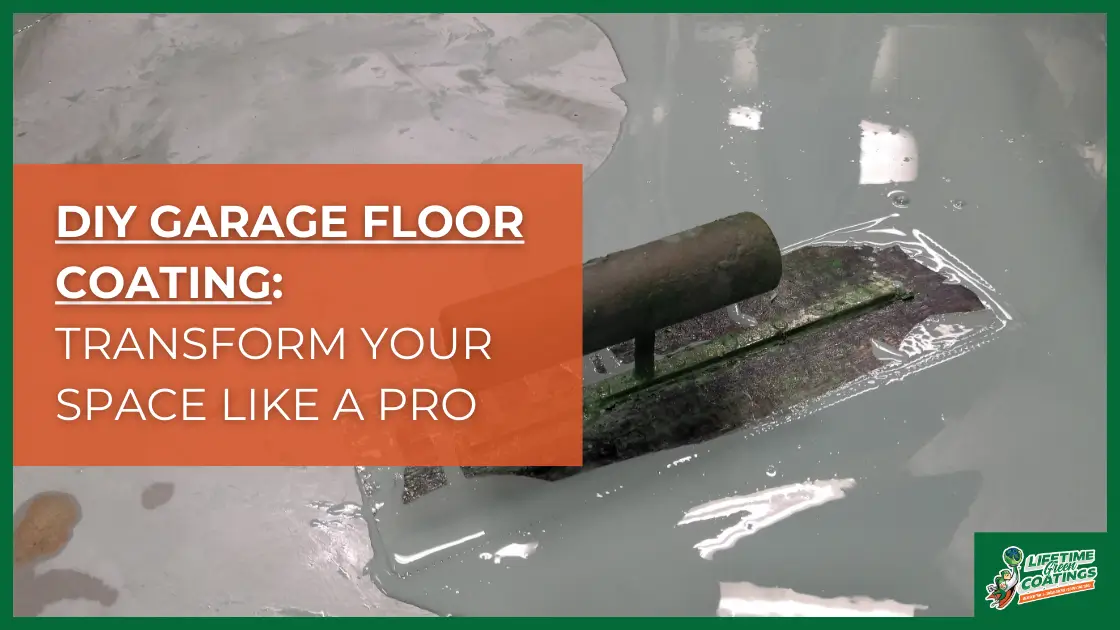
Many homeowners dream of a sparkling, showroom-worthy garage. But a stained and cracked concrete floor can detract from the overall look. This is where a DIY garage floor coating project might be just what your space needs.
A professionally installed garage floor coating can be expensive. Taking the DIY route with your garage floor gives you greater control, and it may be easier than you think.
Why Choose DIY Garage Floor Coating?
Cost savings are a big factor when doing a DIY garage floor coating job. You can save a significant amount of money by skipping professional labor costs, with reports suggesting high costs for professional installation. The cost of professional help will always increase the price of your garage floor project.
A DIY approach provides control over the entire process. From picking the color to setting the project timeline, it’s all up to you.
Many coating products on the market make application easy, regardless of experience. You might even find joy in revitalizing your garage floor.
Prepping for your DIY Coating
Before you even think about opening a can of coating, remember that good surface preparation is very important. A clean, well-prepared concrete floor will noticeably improve the final result. A report indicates that degreasing the floor and thoroughly rinsing it can lead to improved outcomes.
Start by removing everything from your garage. Once cleared, grab a stiff-bristled broom and thoroughly sweep the floor to remove any loose debris.
Next, use a steel wire brush and a quality concrete cleaner and degreaser. Tackle oil spots by directly pouring the cleaner. Apply a cleaning solution mixed with water to any remaining blemishes.
Next, be sure to vigorously scrub your floors. You can even follow up with scrubbing the solution after the first rinse to make sure nothing remains. After you finish, rinse all soap suds thoroughly.
Etching is Essential
Etching is essential to help the coating properly adhere to your garage floor. This process involves using a mild acid solution. The purpose is to carefully remove a very thin layer of the concrete’s surface.
Apply the diluted etching solution evenly. Inspect the concrete and etching solution bubbling closely to confirm a true reaction for your garage flooring. Use a soft-bristle brush for around 10 minutes, giving it time to react. A double rinse will make sure no residue remains that could hinder your results. Using a concrete densifier can be another option at this step too.
Ensuring the Floor is Dry Enough
Trapped moisture is the enemy of a successful coating project. Before starting any product application, verify that the concrete is completely dry.
Give your floor enough drying time. This could range from a few days in dry areas, up to a week in areas with more humidity.
Consider testing for dryness with a Moisture Meter. This will allow you to physically monitor your floor moisture levels until they reach acceptable ranges.
Temperature Plays A Role
Most coatings have an optimal temperature range for both application and proper curing. Extreme temperatures, whether hot or cold, can negatively impact the final look and result in various forms of failure for a DIY garage project.
Air temperature readings can be different from the actual floor temperature. Use an Infrared Thermometer to get a correct floor reading. Space heaters or fans are helpful if some extra temperature adjustment is necessary.
Choosing the Right Garage Floor Coating
Choosing the appropriate type of coating can influence the project’s final look. There are plenty of choices, from basic concrete paints to durable epoxy systems and even garage floor tiles.
Concrete paint is easy to apply and a budget-friendly option. But keep in mind, that paint might not last as long. Weigh both costs and long-term quality.
Epoxy coatings are durable and provide excellent resistance to stains, chemicals, and general wear. This makes them a good long-term option for your DIY garage floor coating project. Another option to consider instead of epoxy floor products like garage floor mats.
However, it’s important to understand that traditional epoxy coatings can contain high levels of volatile organic compounds (VOCs) and other hazardous chemicals, posing potential risks to your health and the environment. At Lifetime Green Coatings, we prioritize environmentally friendly solutions. Our non-toxic, eco-friendly floor coatings deliver a smooth, glossy finish with excellent adhesion and resist hot tire pickup and chemical spills. Furthermore, being VOC-free, these coatings ensure better indoor air quality and protect human health.
Breaking Down Epoxy Types
Water-based epoxies are easy to apply, have minimal odor, and allow for simple water cleanup. Keep in mind that the durability is often slightly lower. These are considered low solids epoxy.
Solvent-based epoxies offer greater chemical resistance. A respirator is a must-have item for this type of work. High solids epoxy floor coatings have a lot of benefits.
100% solids epoxies contain no solvents or water. These create an exceptionally thick, durable coating. 100% solids DIY garage floor epoxy is ideal for applications in harsh conditions or garages requiring superior performance.
How To Mix and Use Your Additives
Clear epoxy coats are usually two-part systems, similar to the color coat. They can come in convenient pouches for simple mixing. Add the anti-slip additive directly into the mixed topcoat, stirring continuously to keep it spread out evenly. There are many options on the market for coating kits.
As with the color coat, cutting in along edges first with another dependable works effectively. Then roll out the sections. This makes the procedure more accessible for everyone on your team. Roll using the short nap, similar to what professionals do, by using a top-quality, high-end 3/8″ nap roller.
Here is a simple breakdown:
1. Mix the clear coat components thoroughly.
2. Pour your required amount of clear epoxy into your Handy Paint Tray.
3. Stir in the anti-slip additive thoroughly, until dispersed.
4. “Cut in” the edges using your high-quality 4″ chip brush.
5. Go over areas again if needed to ensure complete distribution.
Applying the Coating
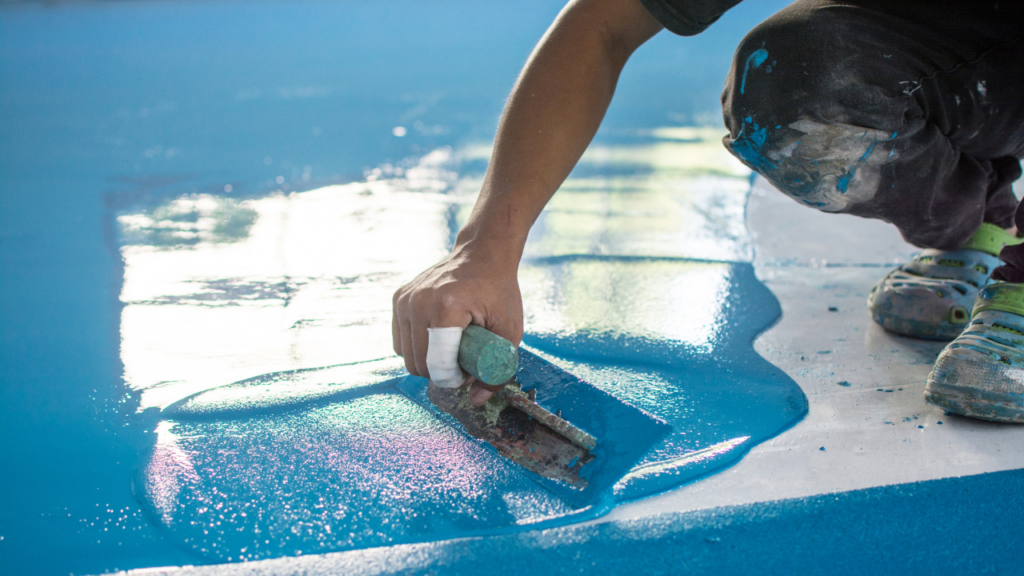
With the prep work complete, it’s time for the main event: putting the product on the floor. Maintaining a consistent process is vital for achieving professional-quality results.
Epoxy systems usually have two components: a resin and a hardener. Precise mixing is critical for the chemical reaction that forms the final coating. Using garage floor epoxy is always a popular choice.
To begin your coating work, consider pouring each epoxy kit into a 5-gallon bucket. You should also use both a long mixing stick and a Paddle Mixer. This mixing will need to go on for several minutes for everything to properly set up and go on smoothly. Proper mixing can be crucial for a quality final look.
Working with a Team
While it’s possible to do this alone, an extra pair of hands can be very helpful. Having your team assist with specific roles will make for an easier overall DIY project. One person can concentrate on the edges using a 4″ Chip Brush.
The other team member can apply the product in 10’ x 10’ sections, or a size that feels manageable. It’s beneficial to use a “medium” coat to achieve an even coating with your process. Using an extension pole can simplify the task.
Rolling and Back-Rolling
Dip your roller into your bucket of mixed products. A roller with a 1/2″ nap can produce a great result. This will maintain order in your procedure. Using a quality floor coating kit is important.
Immediately after coating an area, employ a “back-rolling” method. Use light, even strokes to achieve a smooth surface. Rolling the section in a different direction helps minimize roller marks.
Optional: Adding Color Flakes
Color flakes add visual appeal and serve a practical purpose. You can purchase them with your epoxy kits, and they are easy to add. They help improve the looks of your garage floor coatings.
Scatter the flakes immediately after coating and back-rolling an area. Aim for even coverage, as a light application is harder than going thicker. Some suggest tossing flakes toward the ceiling, letting gravity assist in distribution.
Adding A Clear Topcoat for the Win
A clear topcoat isn’t required, but it offers several significant benefits for a DIY garage floor coating. This approach has merit, as this extra floor protection can be very beneficial. Clear floor coatings will always help improve the overall job.
It provides an extra layer of protection, guarding against scratches. An added advantage is that as your garage floor ages, a clear topcoat helps conceal any scratches.
A topcoat completely covers any color flakes. Adding anti-slip products can be beneficial too, by getting a good Anti-slip additive. You want to prioritize safety in your project.
DIY vs. Professional Installation:
When considering a garage floor coating, the choice between DIY and professional installation hinges on several factors. Here are some key differences:
DIY Garage Floor Coating
Pros:
- Cost-Effectiveness: The most significant advantage is the lower upfront cost. DIY kits are considerably cheaper than professional installation.
- Flexibility: You control the timing and pace of the project, fitting it into your schedule.
- Personal Satisfaction: Completing the project yourself can provide a sense of accomplishment.
Cons:
- Preparation Challenges: Proper concrete preparation is critical. DIY kits often rely on acid etching, which is less effective than professional diamond grinding or shot blasting. This can lead to adhesion problems and premature peeling.
- Quality and Durability: DIY coatings are typically thinner and less durable than professionally applied coatings. This results in a shorter lifespan and increased susceptibility to damage.
- Application Difficulties: Achieving a smooth, even finish can be challenging without professional experience and equipment. Imperfections like roller marks, bubbles, and uneven flake distribution are common.
- Time Consumption: DIY projects can take significantly longer, especially if you encounter unexpected issues.
- Limited Options: DIY kits offer limited color and finish options compared to professional services.
- Longevity issues: DIY coatings generally do not last as long as professional coatings.
Professional Garage Floor Coating
Pros:
- Superior Preparation: Professionals use specialized equipment to thoroughly prepare the concrete, ensuring optimal adhesion.
- Enhanced Durability: Professional-grade coatings are thicker and more resistant to chemicals, abrasions, and impacts.
- Flawless Finish: Experienced installers achieve a smooth, even, and aesthetically pleasing finish.
- Longevity: Professional installations typically last much longer, providing a better long-term return on investment.
- Warranty: Professionals often offer warranties, providing peace of mind.
- Wide Variety of options: Professional installers offer many more color, texture, and flake options.
Cons:
- Higher Cost: Professional installation is significantly more expensive than DIY.
- Scheduling: You must coordinate with the installer’s schedule.
When considering professional garage floor coating installation, Lifetime Green Coatings stands out for its eco-friendly approach, utilizing naturally based, chemical-free materials that are safer for families and pets. They prioritize durability and longevity, offering a residential limited lifetime warranty and ensuring professional installation with quick cure times enabling use of the floor within a day or two.
Conclusion
A DIY garage floor coating project can completely change your garage’s appearance and usefulness. While your total labor time might be substantial, the overall cost savings and the final look of your garage will make it worthwhile. Many individuals are very pleased with their results after completion. However, for those seeking a professional touch and the assurance of a flawless, long-lasting finish, Lifetime Green Coatings offers a compelling alternative. Lifetime Green Coatings specializes in expert professional installation, utilizing 100% pure, American-made, non-toxic, and eco-friendly coatings.
Their streamlined and efficient process, coupled with a limited lifetime warranty, provides excellent value and peace of mind. By prioritizing sustainable materials and avoiding the harmful VOCs found in traditional epoxies, Lifetime Green Coatings ensures both a beautiful and environmentally responsible outcome. Whether you choose the DIY route or opt for professional installation with Lifetime Green Coatings, the transformation of your garage floor will undoubtedly enhance both its aesthetic appeal and functionality.

